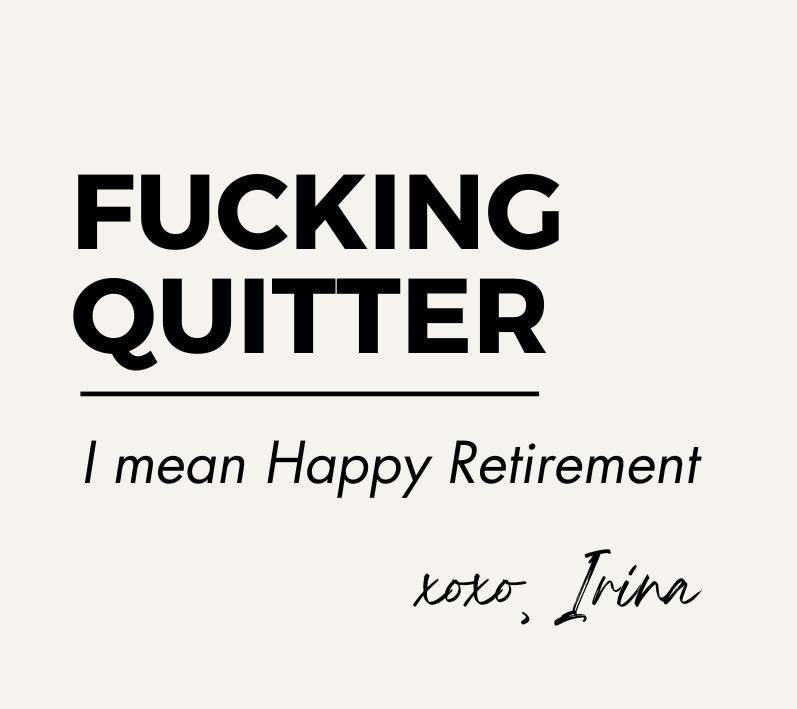
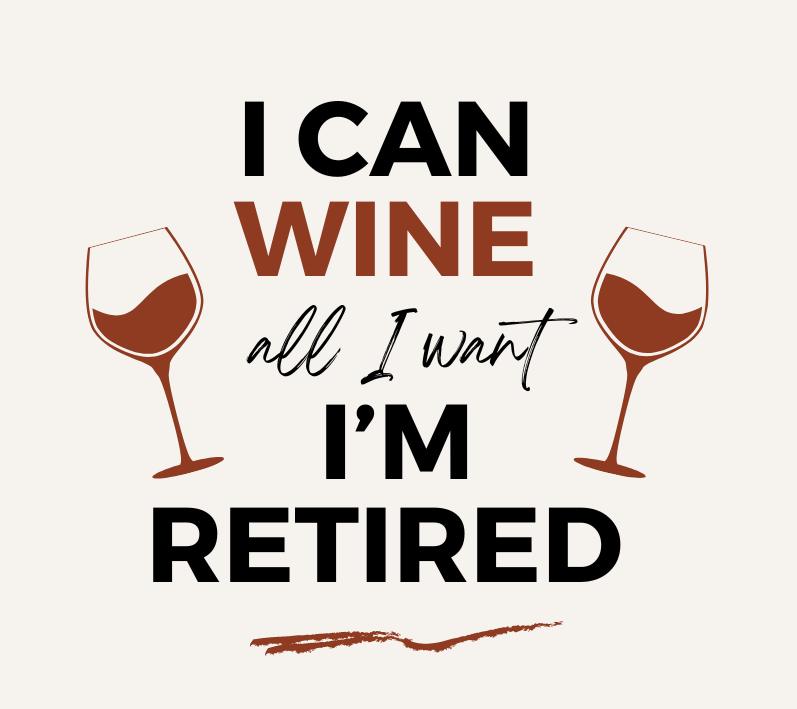
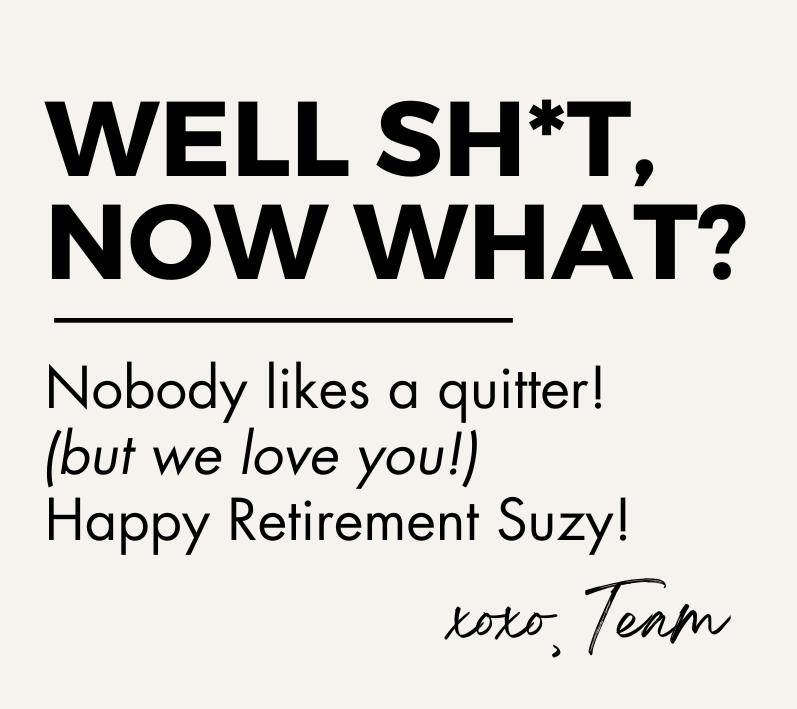
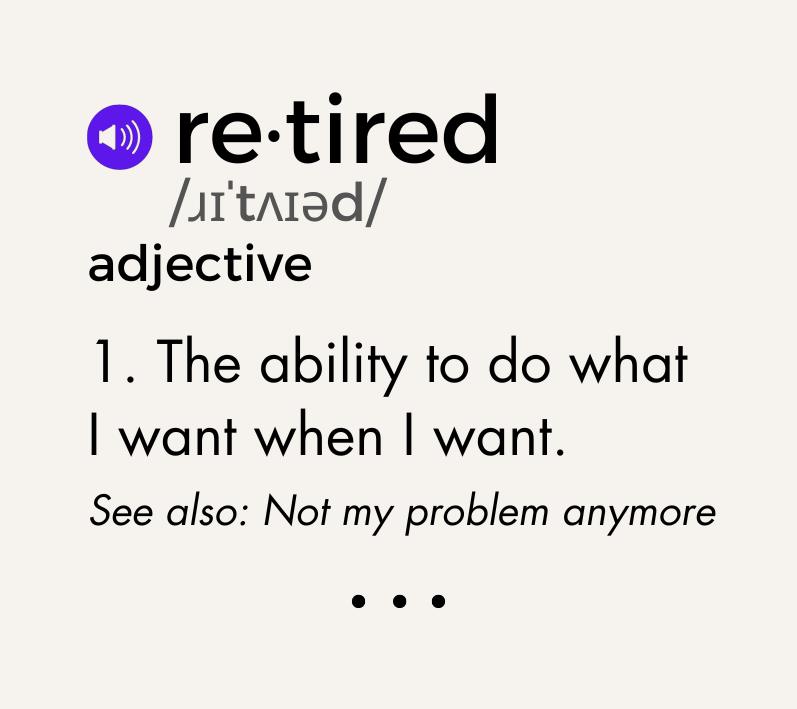
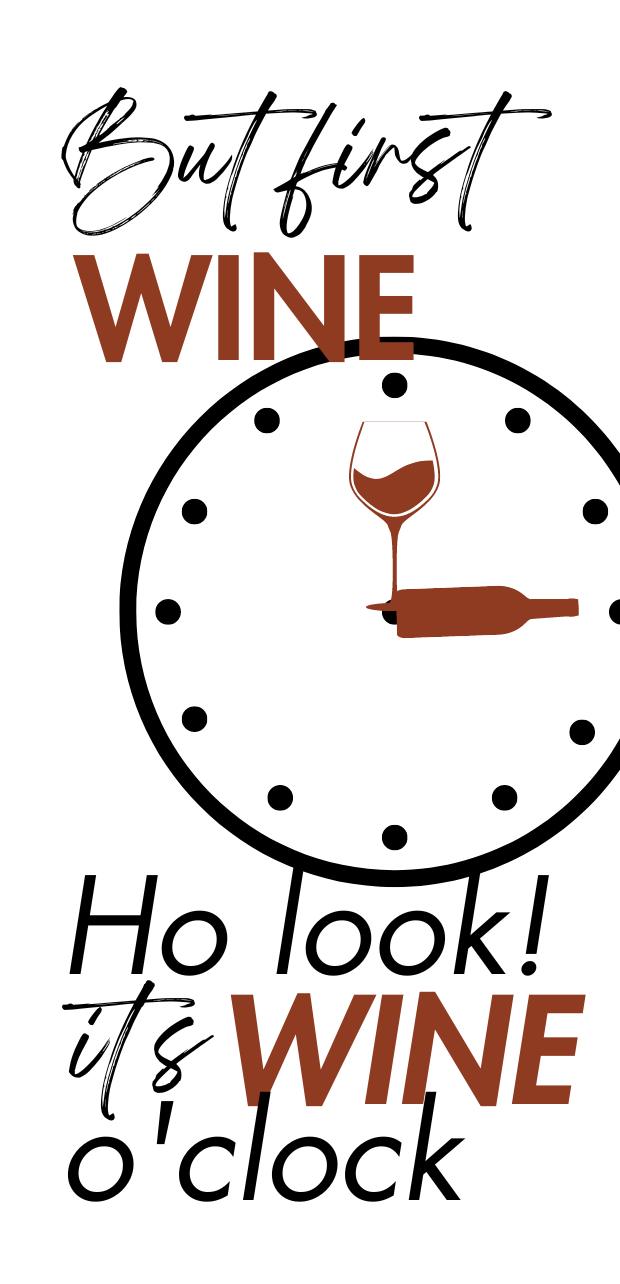
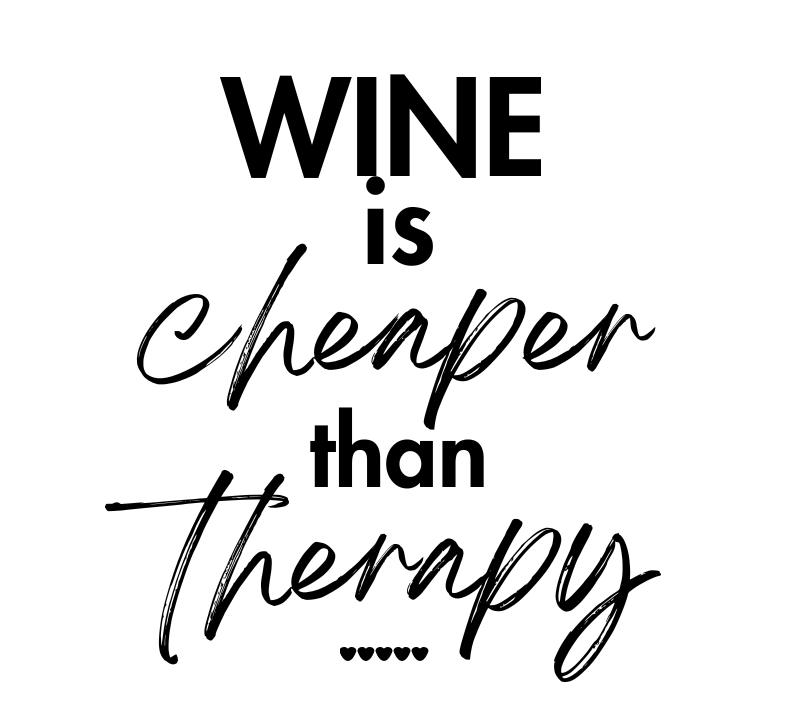
Retirement gift idea – how to make a personalized wine bottle label
Step-by-step guide on how to make customized wine bottle label for your retiring coworker, Mother’s Day gift, a hostess gift, or as a birthday gift.
DISCLAIMER: AS AN AMAZON ASSOCIATE I EARN FROM QUALIFYING PURCHASES. THIS POST CONTAINS AFFILIATE LINKS THAT WILL REWARD ME MONETARILY OR OTHERWISE WHEN YOU USE THEM TO MAKE QUALIFYING PURCHASES. FOR MORE INFORMATION. PLEASE READ MY PRIVACY POLICY.

Looking for a fun unusual gift for a retiring colleague? Look no more as this personalized wine bottle label will make a perfect gift.
I promise that the recipient will be grinning sipping wine from this bottle.
And creating a personalized wine bottle label is a fun and creative project also.
Aren’t they cute?
The best thing about this little DIY is that it can be really budget-friendly or even FREE and it’s a special gift she or he will keep forever.
How to create personalized wine bottle label – Step by step
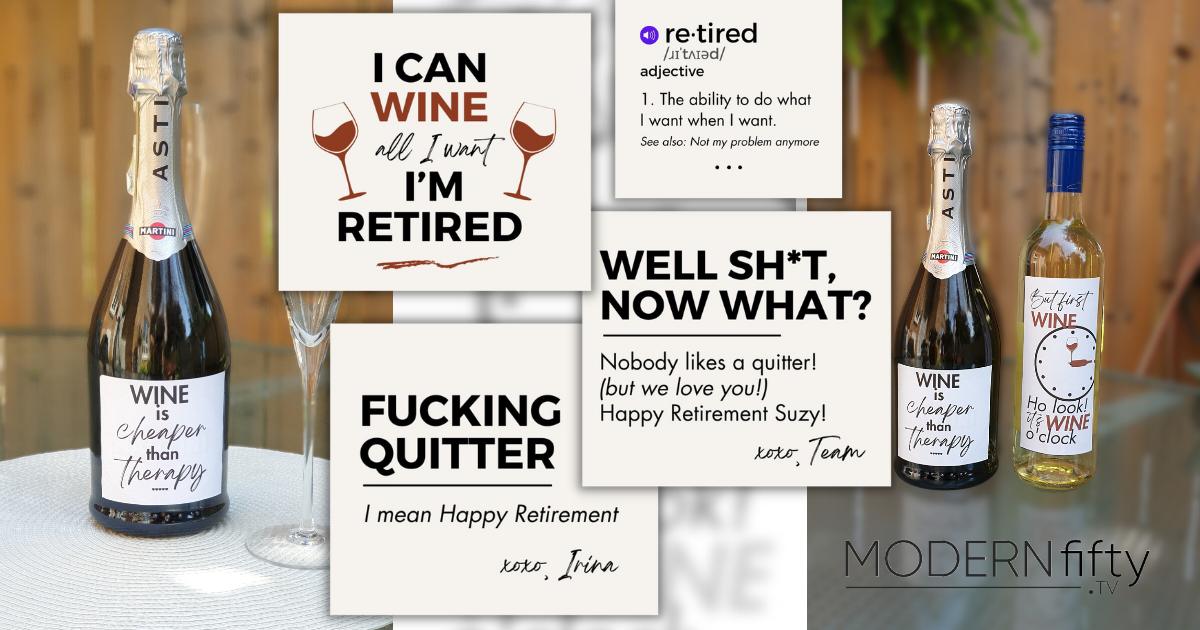
I am showing you exactly how I made them so you can go and customize wine bottle labels for your retiring coworkers, a Mother’s Day gift, a hostess gift, or as a birthday gift.
. . .
Total Time: 1 hour
STEP 1 – GATHER SUPPLIES
Collect the necessary materials, including a blank full sheet of 8.5”x11” white stickers (Make SURE that you get the full sheet of sticker paper and that its NOT the divided up kinds!), a computer with a Canva account, a printer, scissors or a craft knife, measuring tape, and a ruler.
. . .
STEP 2 – MEASURE THE LABEL DIMENSIONS
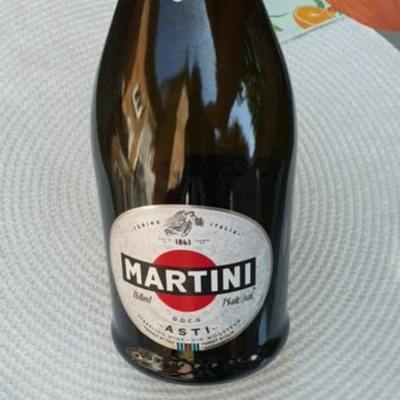
Determine the dimensions of the wine bottle label by measuring the area where you plan to affix it. This will help you create a design that fits perfectly.
. . .
STEP 3 – DESIGN THE LABEL
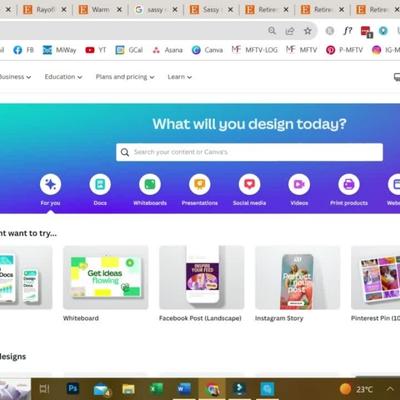
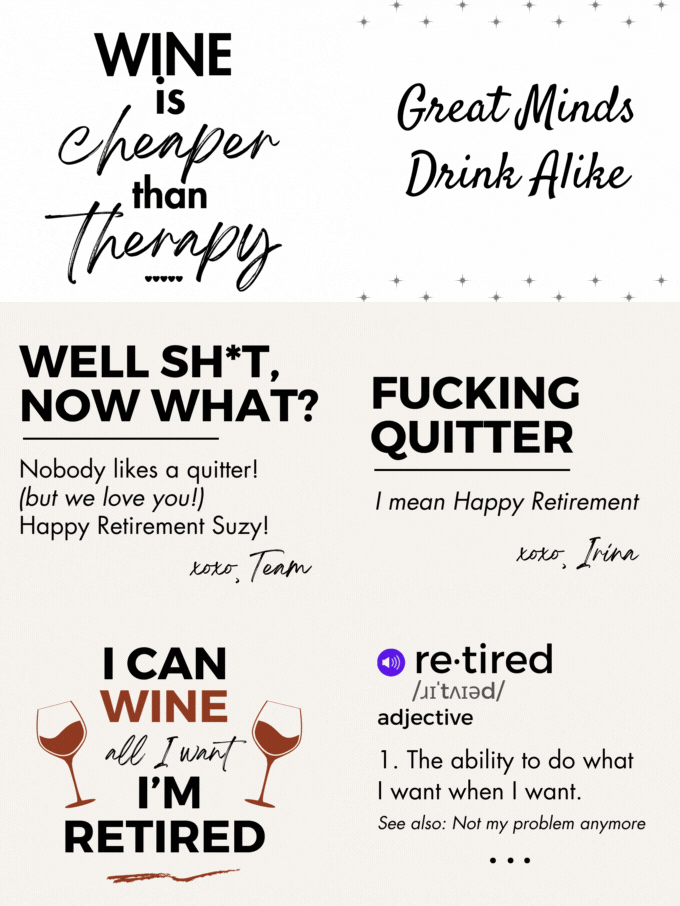
Open Canva (free software) and create a new document with the measurements you took. Begin designing your personalized wine label. I used Pinterest to find inspiration. Just search for “Sassy retirement stickers”, “Funny retirement quotes”, or “funny and sassy wine stickers”.
Consider incorporating elements like the name of the recipient, the name of the wine, a personal message, and any other design elements you desire. Experiment with fonts, colors, and images to create a visually attractive label.
Save it in a “PDF-standard” format.
. . .
STEP 4 – PRINT THE LABEL
Once you are satisfied with the design, print the labels on a blank full sheet 8.5”x11” white sticker. If you don’t have adhesive paper, you can print on regular paper and use glue or double-sided tape to affix the label to the wine bottle.
. . .
STEP 5 – CUT OUT THE LABELS
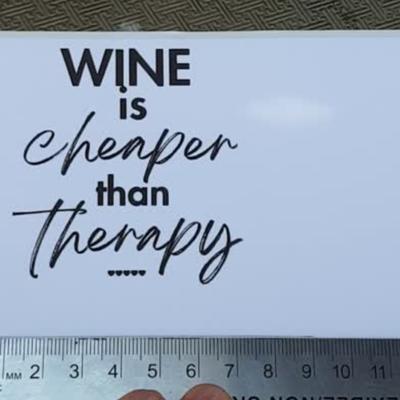
Using a pencil and ruler create an outline with label measurements (from step 2) around the printed label. Use scissors or a craft knife to carefully cut out each label along the outline. Take your time to ensure clean and precise cuts.
. . .
STEP 6 – PREPARE THE WINE BOTTLE
Clean the wine bottle thoroughly to remove any dirt or residue. Dry it completely to ensure the label adheres properly.
. . .
STEP 7 – APPLY THE LABEL
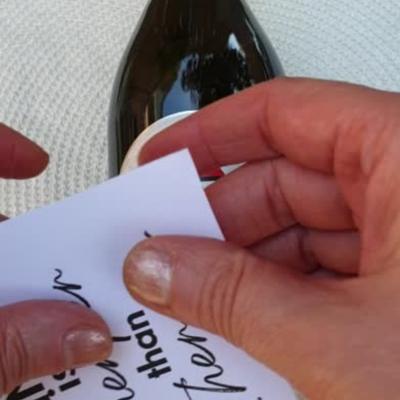
Peel off the backing of the adhesive paper or apply glue to the back of the label. Carefully position the label on the wine bottle, starting from one end and smoothing it down gradually to avoid air bubbles or wrinkles, press and secure.
. . .
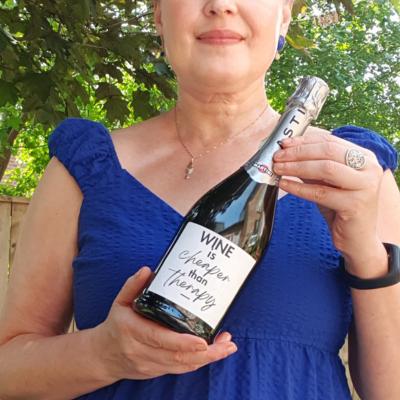
Display the personalized wine bottle proudly or use it as a thoughtful and unique gift for a special occasion like retirement, Mother’s Day, birthday, or a hostess gift.
Inspiration for this post came from a “Unique graduation party gift” blog post.


FREE PRINTABLES
Join over 100,000+ readers and get free access to all my printables
READ NEXT:
- What Does Love Yourself More Really Mean and How to Achieve It?
- Living A Simple Life in A Modern World
- Did you know that 20 of the 43 most stressful life events take place at retirement?
- The Hard Part About Getting Older That No One Ever Talks About
- 30-Day Minimalism Challenge